Dress up your home and make a stylish acrylic calendar for less than $40 with a few simple supplies in less than 2 hours. This post contains affiliate links, which means I make a commission if a purchase is made through the links at no additional cost to you.

This DIY acrylic calendar is so easy. Ok so this calendar isn’t actually acrylic. It’s so much better! It’s actually a glass dry erase calendar. Acrylic decor is everywhere right now. I get it. It’s stylish, affordable and durable. I wasn’t a huge fan of the acrylic however for a few different reasons. One of the main reasons being that it scratches pretty easily. However if you’d rather use acrylic instead of glass for this project than you totally can.
This is probably one of my favorite DIYs yet. I mean I can’t rave about how much I love this calendar. You guys know that I’m a huge planner. I like to keep things organized for my family. Staying organized as a family and streamlining our weekly family routine with this calendar helps us maximize our time and be more efficient. When we bought this house I had a vision that I wanted our home to be the place where everything comes together.
DIY Acrylic Calendar
This calendar was a major part of that. My husband and I share a digital calendar to keep track of all of our activities. Sometimes not having important things right in front of your face makes things a little tougher. It serves as our everything. It’s perfect for keeping track of our family meal plan. I designed it specifically to be our command center so everyone in our family knows what’s going on for a month at a time.
Over the last couple of weeks I had been searching for a calendar that we could use in our home. Everything that was in the acrylic style that I wanted was way out of our price range, ranging anywhere from $90-$200. The ones that I saw were way smaller than what I wanted. This calendar is massive and fits everything that we need on it.
If you follow me over on than you’ve seen sneak peeks of this DIY acrylic calendar. You’ve probably even watched as I was going through the process putting it together. It took me a little while to put the entire thing together with both kids running rampant at home but I finally got the design template right. Now I am ready to share so you can create your own.
Supplies
- 35” x 23” Dry erase board (you can purchase at and as well)
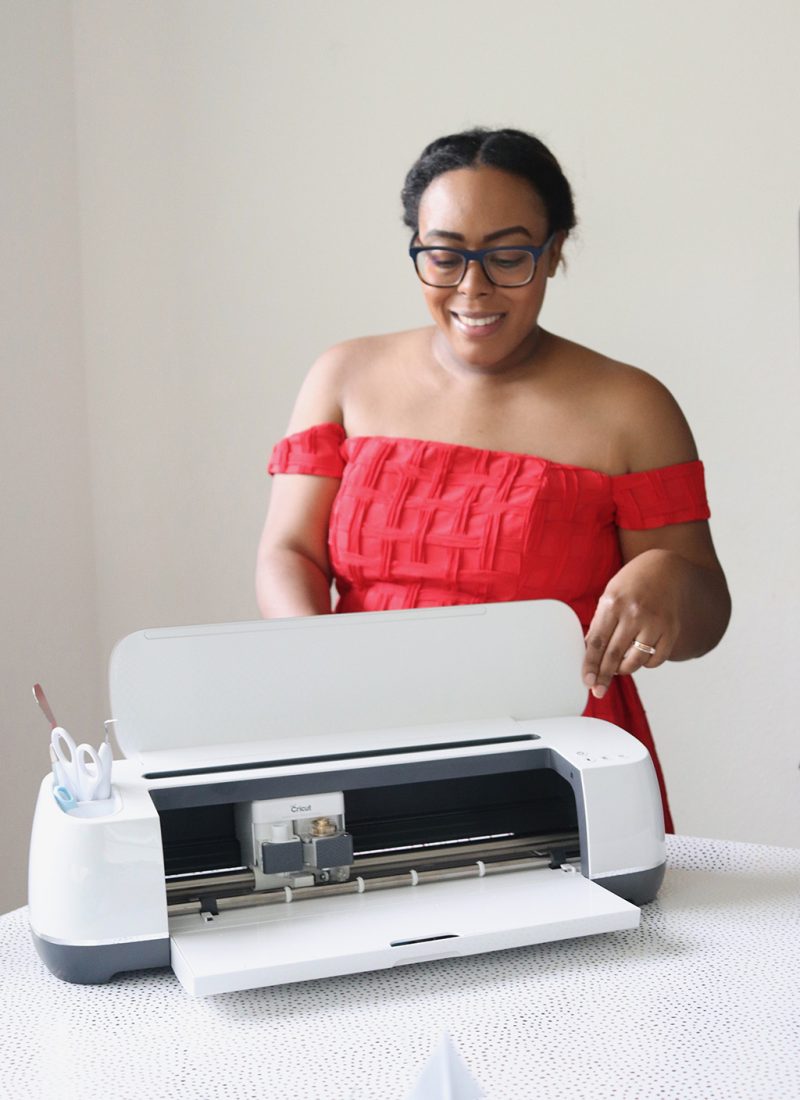
- Cricut Maker or Air Explore 2
- Cricut permanent vinyl – I used brushed black
- 12×24 standard grip mat
- Scraper
- Metallic gold spray paint (optional)
- Dry erase markers, fine point (I love these!)
Instructions
- Spray paint the circular screws and covers with the metallic gold spray paint. This step is optional and you can use any color spray paint you’d like.
- Edit the calendar template in Design Space.
- Attach the large ‘last name’ text to the ‘month’ text below. This will allow both elements to print onto the same 12×24 standard grip mat. Attach the rest of the design elements in the calendar according to the assembly tips below.
- Once all of the parts of the calendar are cut out, weed the design.
- Transfer the design onto transfer tape. Use your scraper if you need to.
- Assemble the transfer tape onto the calendar starting with the “last name” piece first. Center the design as best as you can.
- Continue the assembly until you’ve reached the last piece of vinyl.
- Use the scraper to release the vinyl from the transfer tape.
Assembly Tips for your DIY acrylic calendar
- It’s easier to assemble the calendar before you hang it on the wall.
- Assemble each section one at a time.
- Use the scraper to attach the vinyl to the dry erase board.
- Before printing, make sure these elements are attached to each other:
- Last name/months
- Days of the week/boxes
- Family member boxes/travel schedule
- Menu/groceries/quote/family to-do list


One of the best parts about this glass dry erase board is that it comes with everything you need to hang. You don’t have to drill holes in sheets of acrylic making a huge mess. The holes are pre-drilled which makes it ten times easier for hanging. The mounting screws are brass which is perfect for our mid-century modern home. Of course if you want another color you can always spray paint them.
The Custom Calendar Design
At the beginning of every week my family and I have a quick family meeting to talk about what we want on the dinner menu, bills that are due, and any events we have. Those were all things that I wanted to include on the calendar. The blocks on the top of the calendar serve as the portion of the calendar where we write all of the bills that are due, the amount and the date they’re due.
The next section I wanted to include was a place to put notes for each member of our family. In each of our boxes I write things like medications/vitamins we take daily, the baby’s daily schedule, and any activities the kids have.
Underneath that is our travel schedule. If we have any upcoming trips scheduled, we list them here so everyone remembers when they need to have bags packed and ready to go.
On the bottom right half of the calendar, I included sections for our weekly dinner menu, a grocery list, and family to-do list. How many times have you gone grocery shopping only to come back and have your family ask for you to go to the store for something else? It happens to me all of the time and drives me crazy. With the grocery list right there on the calendar, my family can easily pick up a dry erase marker and add things they want to the list. I can do the same for the family to-do list section.


How to Edit The Cricut Template
Editing the Cricut template is easy peasy even for beginners. The template has a lot of design elements but I wanted to make it simple enough to edit. When you’re ready to get started click Customize.
To edit text, double click the text. Start from the top and work your way down the template as that’s the easiest way to make sure nothing is missed. The first thing you’ll want to edit is the last name at the top of the calendar. You can edit it to say anything you want. Just make sure whatever text you choose stays in line with the rest of the design or else the design will be too big to cut on your machine.
When editing the names inside of the boxes, you’ll want to detach the elements first. Once the text is detached from the box you can edit. Be sure to attach the text back to the box once you’re done editing the text.

I hope you really love creating your DIY acrylic calendar as much as I did. I can’t wait to see how yours turns out! Be sure to tag me on Instagram @biancadottin if you make a calendar!
Grab your supplies to make this acrylic calendar DIY:

Looking for more fun DIYs to try? I love this Family Handprint Art, Lip Print Shoe DIY and these Coloring Bookmarks for Kids.


This post contains affiliate links, which means I make a commission if a purchase is made through the links at no additional cost to you.


YOU.ARE.AMAZING. I have been researching acrylic family calendars and trying to reinvent the wheel all.day.long. I was going to buy a sheet of acrylic and standoffs and make the whole thing from scratch. Reading your post just cut my work in half! You even shared an editable template?!? OK. That’s it. You’re my new best friend. Thank you so much. Can’t tell you how thrilled I am for this post. I hope you make mad cash from your affiliate links because you deserve it.
Thank you Leslie! I hope it turns out exactly how you want it too. My family wouldn’t be able to function without this calendar.
Love this idea!! I wanted to thank you so much for sharing this fabulous idea! I made a version for my office and it came out great! Your file was super easy to customize to my needs. Thank you again!!
I’m so glad that you loved it!