This is a sponsored post written by me on behalf of Cricut. All opinions are 100% mine.
This is a sponsored post written by me on behalf of Cricut. All opinions are 100% mine.
Looking for ways to use those leftover Cricut materials and stay busy while you’re stuck at home? Check out this tutorial for DIY coloring bookmarks.

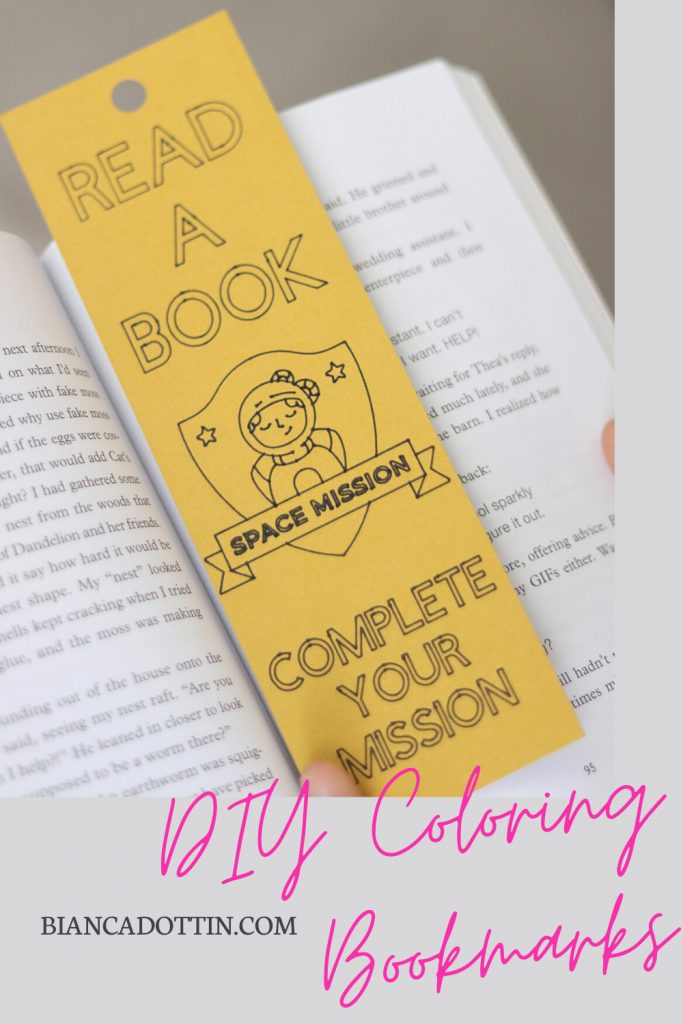
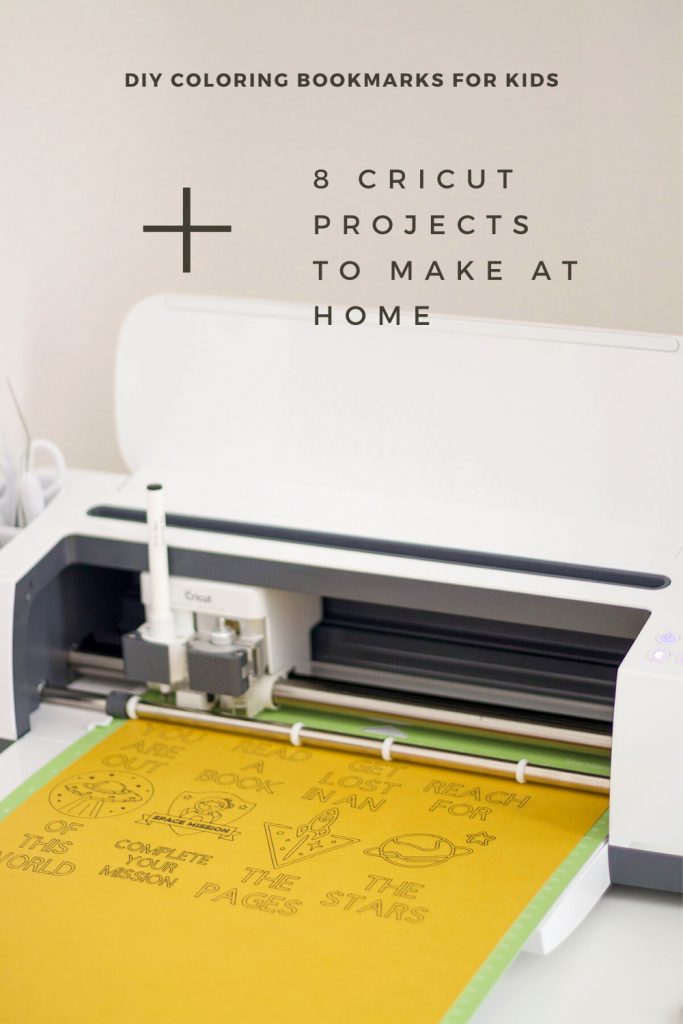
My daughter loves to read! There’s hardly a time where you won’t catch her with a book in her hand. She’s the type of reader who can dive into 3 or 4 books at a time. We always have to have tons of bookmarks on hand for her to use in the books she’s reading. Since we’re stuck at home for the next few weeks and she plans to dive into a couple of new books, I came up with a fun DIY project that will be fun to make with your kids. With thousands of images, graphics and fonts in Design Space it was easy to design something that my daughter would love. If you don’t have Cricut Access, I highly suggest getting a subscription to take your Design Space experience to the next level. The DIY coloring bookmarks are the perfect solution for all of those parents who are tired of buying expensive bookmarks in the store only to find that your kids lost them or let a friend “borrow them”. You can make an endless amount of these bookmarks and keep them on hand. You can even give them as party favors for your next shindig!
The tutorial is quick and easy and will take you less than 10 minutes to make at home with your Cricut machine. I used my Cricut Maker to make these bookmarks but you can also use an Explore Air 2 or a Cricut Joy to bring this project to life.
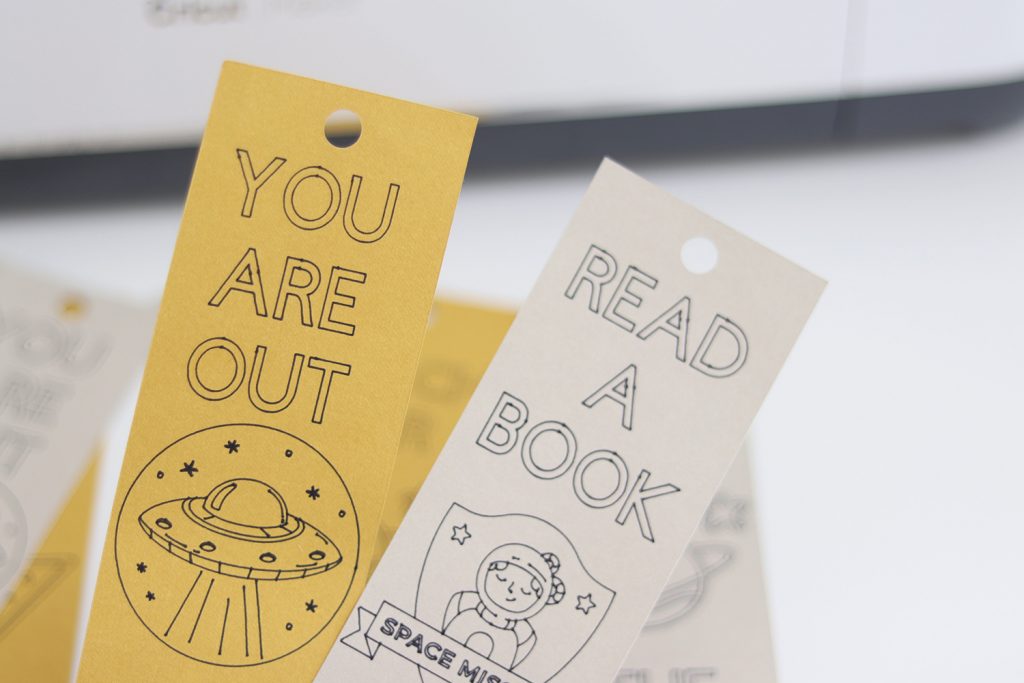
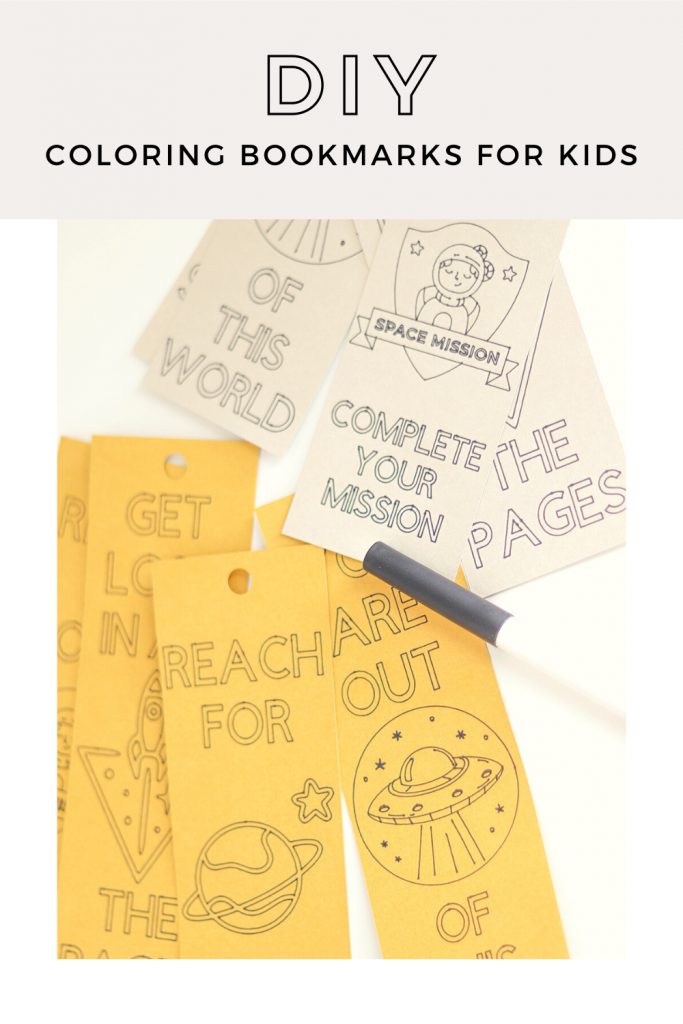
DIY Coloring Bookmarks
Supplies
- Cricut smart cutting machine
- Design Space file (linked here)
- Medium cardstock (80 lb)
- Black Cricut pen, 0.4 point
- Ribbon
- Colored pencils for coloring
Instructions
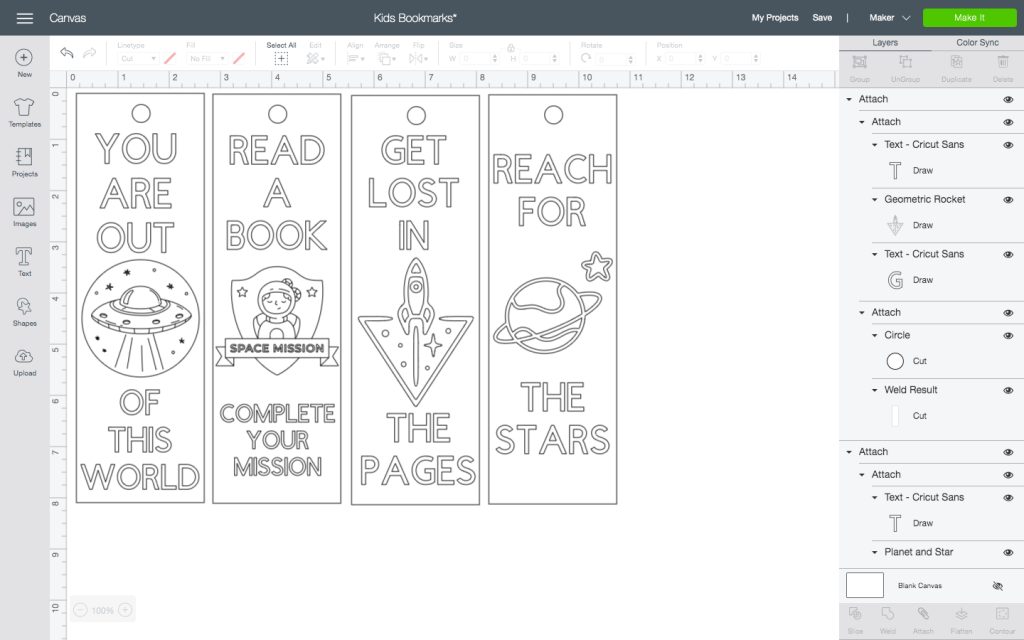
- Open the Design Space file.
- Place your cardstock onto a green Cricut standard grip mat.
- Load your cardstock into your Cricut.
- Select the green ‘Make it’ button in the top right corner.
- Select the size of your cardstock. (I used a 12×24 sheet for this project since I was using leftover materials from a previous project.)
- Next, select the type of cardstock you’re using. (I used medium cardstock – 80lb for this project).
- Install your black pen into side A of your machine (if you’re using a Maker or Explore). Follow the instructions on screen for a Cricut Joy.
- Press the ‘C’ on your Maker to get started.


Once the drawing and cutting is complete:
- Gently peel away the excess cardstock from around the edges.
- Remove each bookmark from the grip mat.
- Let your kids color the bookmarks.
- Once they’re done coloring, you can laminate each bookmark. This is totally optional.
- If you choose to laminate, use a hole punch to punch through the hole at the top for your string or ribbon.


Making Changes to The Design Space File
Making changes to the Cricut Design Space file is simple. Right click on the bookmark you’re wanting to edit and click the ‘detach’ button in the bottom right corner. From there you can make changes to the color, shape, text, anything you want.
Coloring Tips
It’s best to use colored pencils for these bookmarks but markers and crayons are always an option too. Colored pencils will allow better control and staying inside of the lines since the design has a lot of fine lines and some small text.

If you’re looking for some other fun projects to make when you’re stuck at home, here’s a few of my favorite projects that I’ve seen lately.
8 Cricut Projects to Make When You’re Stuck at Home
3D Layered Mandala Clock
Lunch Money Pouch
Mad Hatter Tea Towels
Rainbow Bookends
Throw Pillows
Lip Print Shoes
Grocery Store Tote Bags
Unicorn Tote Bag
Pin this project for later


Leave a Reply